Instalación del bot
1. Instalación de la aplicación de AllContributors GitHub
Instala la aplicación de AllContributors GitHub

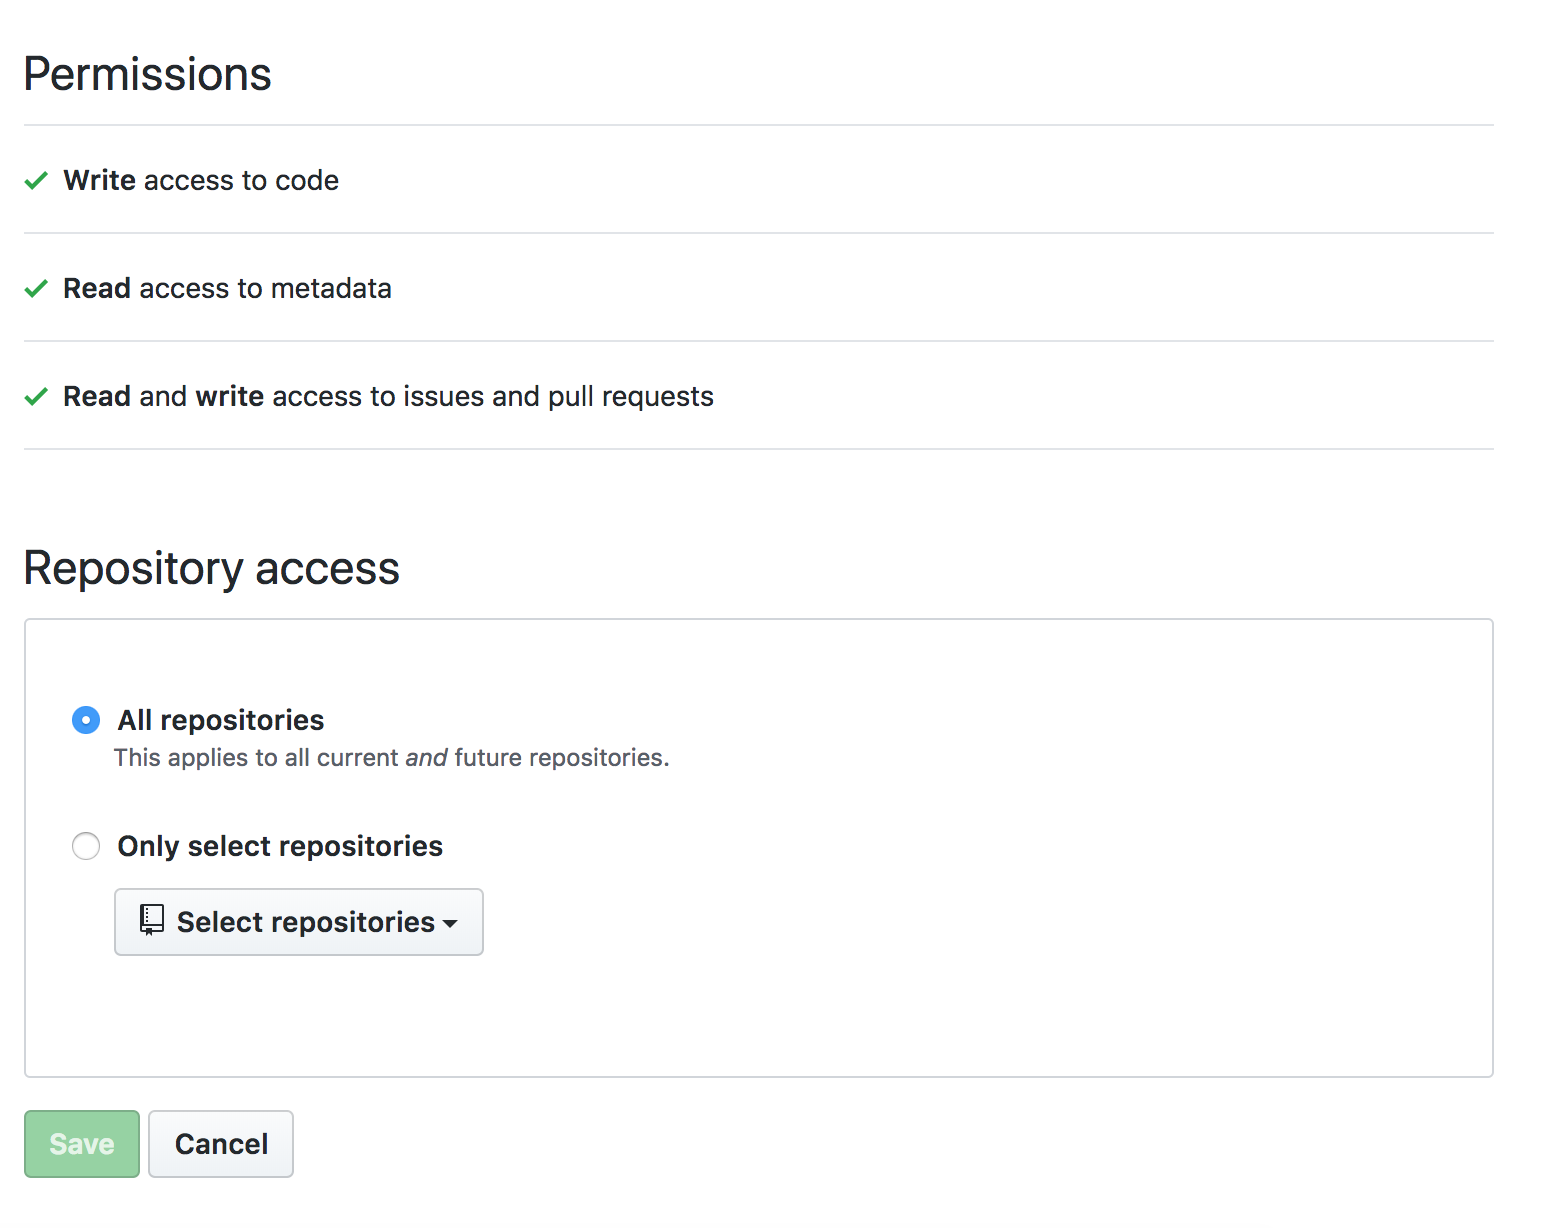
2. Configure sus repositorios
3. Crear un README.md
Ensure you have a README.md file at the root of the project (it can be empty).
Si prefieres la tabla de tus colaboradores en un lugar distinto al README.md; Después de fusionar tu primer PR del bot, puedes mover tu tabla de colaboradores, ver archivos en la configuración del bot
Make sure to add this in the markdown:
For the list:
## Contributors

<!-- ALL-CONTRIBUTORS-LIST:START - Do not remove or modify this section -->
<!-- prettier-ignore-start -->
<!-- markdownlint-disable -->

<!-- markdownlint-restore -->
<!-- prettier-ignore-end -->

<!-- ALL-CONTRIBUTORS-LIST:END -->
Note: Extra line is very important in order to make it work properly.
For the badge use the following, replacing projectOwner with the relevant GitHub username or organization name, and projectName with the relevant the GitHub repo name. Style, color, and other parameters can be customized to your liking — see https://shields.io/.
[](#contributors)
Please create the
.all-contributorsrcfile for the first configuration. It can only have the mandatory information in it to begin. The bot will update it automatically with default config in the first PR. Here is the minimal.all-contributorsrcfile to add in your repo :{ "projectName": "<insert the repo's name>", "projectOwner": "<insert the repo's owner/orgs>" }
4. Actualice su documentación de contribución
Considere actualizar su CONTRIBUTING.md o similar con pasos sobre cómo sus colaboradores se pueden añadir. Incluso puede vincular a la documentación de uso del bot.