Instalacja Bota
1. Zainstaluj na GitHubie aplikację AllContributors

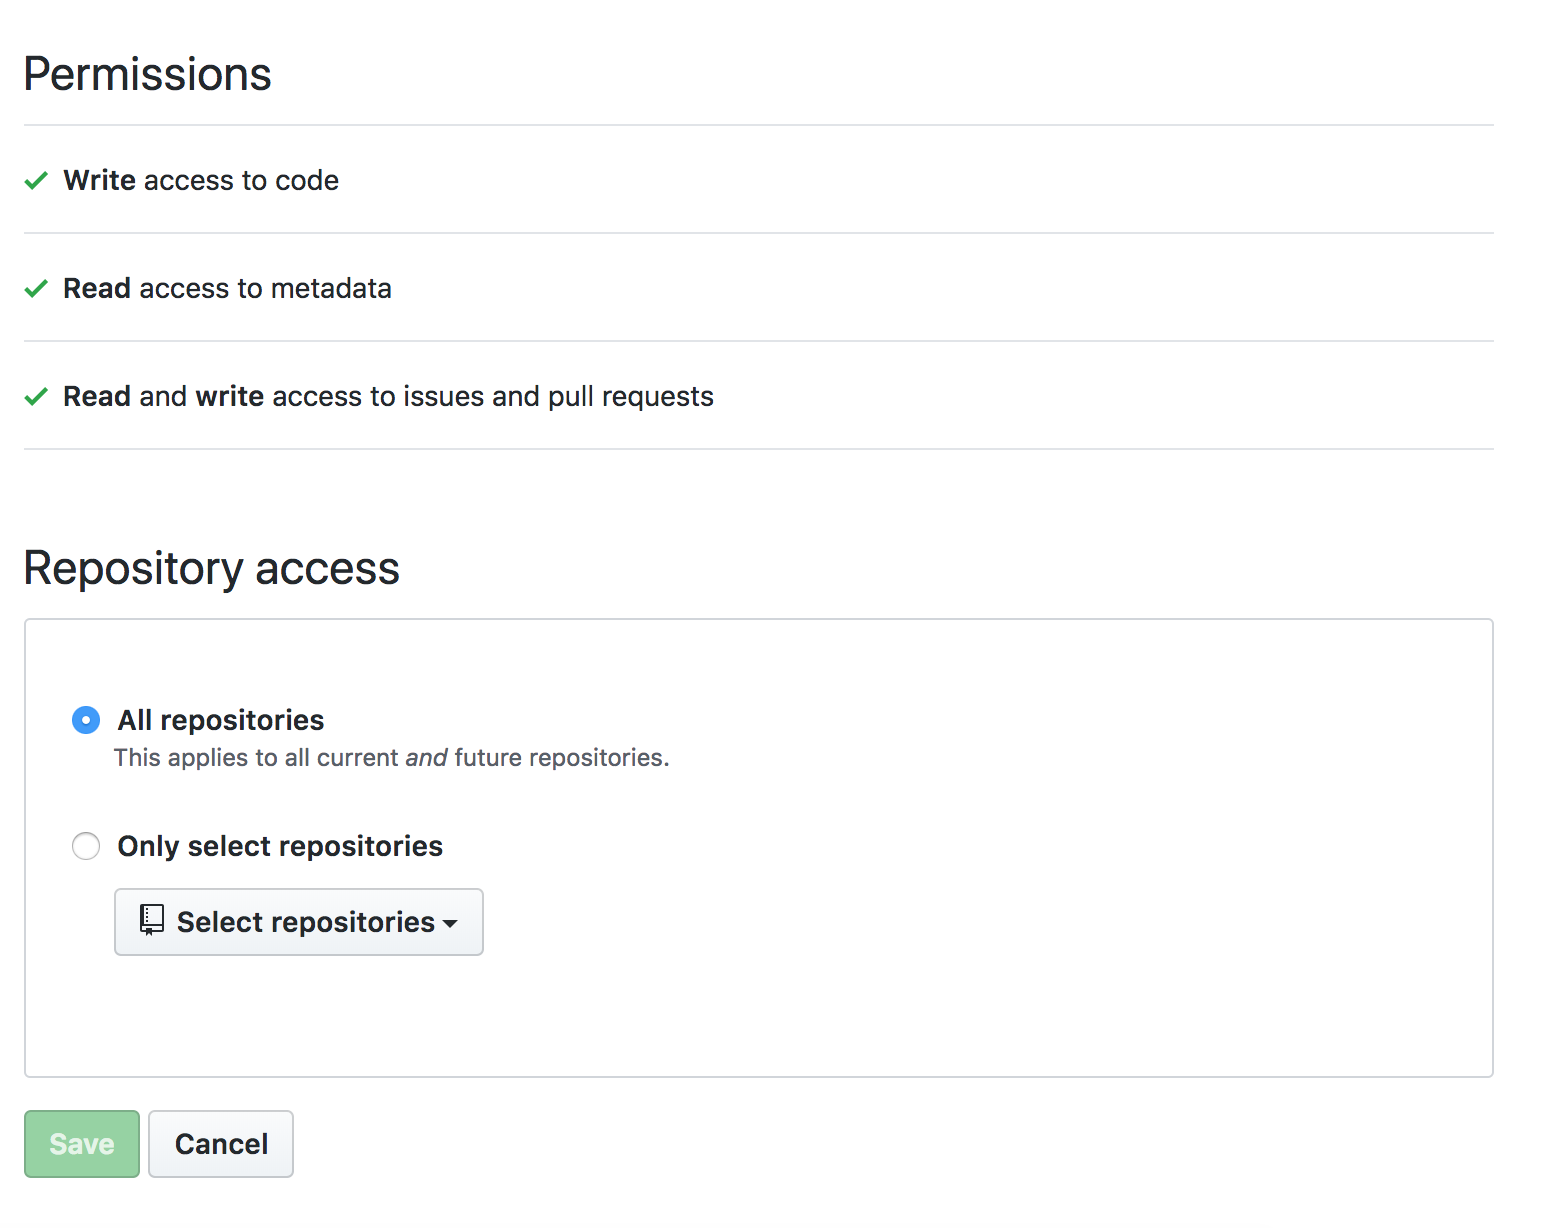
2. Skonfiguruj swoje repozytoria
3. Utwórz plik README.md
Ensure you have a README.md file at the root of the project (it can be empty).
Jeśli chciałbyś, aby lista Contributors znajdowała się w innym miejscu niż README.md, będziesz mógł ją przenieść po połączeniu pierwszego Pull Request przez bota. Sprawdź pliki w konfiguracji bota
Make sure to add this in the markdown:
For the list:
## Contributors

<!-- ALL-CONTRIBUTORS-LIST:START - Do not remove or modify this section -->
<!-- prettier-ignore-start -->
<!-- markdownlint-disable -->

<!-- markdownlint-restore -->
<!-- prettier-ignore-end -->

<!-- ALL-CONTRIBUTORS-LIST:END -->
Note: Extra line is very important in order to make it work properly.
For the badge use the following, replacing projectOwner with the relevant GitHub username or organization name, and projectName with the relevant the GitHub repo name. Style, color, and other parameters can be customized to your liking — see https://shields.io/.
[](#contributors)
Please create the
.all-contributorsrcfile for the first configuration. It can only have the mandatory information in it to begin. The bot will update it automatically with default config in the first PR. Here is the minimal.all-contributorsrcfile to add in your repo :{ "projectName": "<insert the repo's name>", "projectOwner": "<insert the repo's owner/orgs>" }
4. Zaktualizuj dokumentację kontrybucji
Rozważ rozszerzenie pliku CONTRIBUTING.md o kroki, dzięki którym Contributors będą mogli dodać samych siebie do listy. W tym celu możesz nawet skorzystać z dokumentacji użytkowania bota.